
How to sharpen colored pencils with less breakage
Check your sharpener, match the point to the job, and know when to stop: practical ways to care for colored pencils without wasting them.
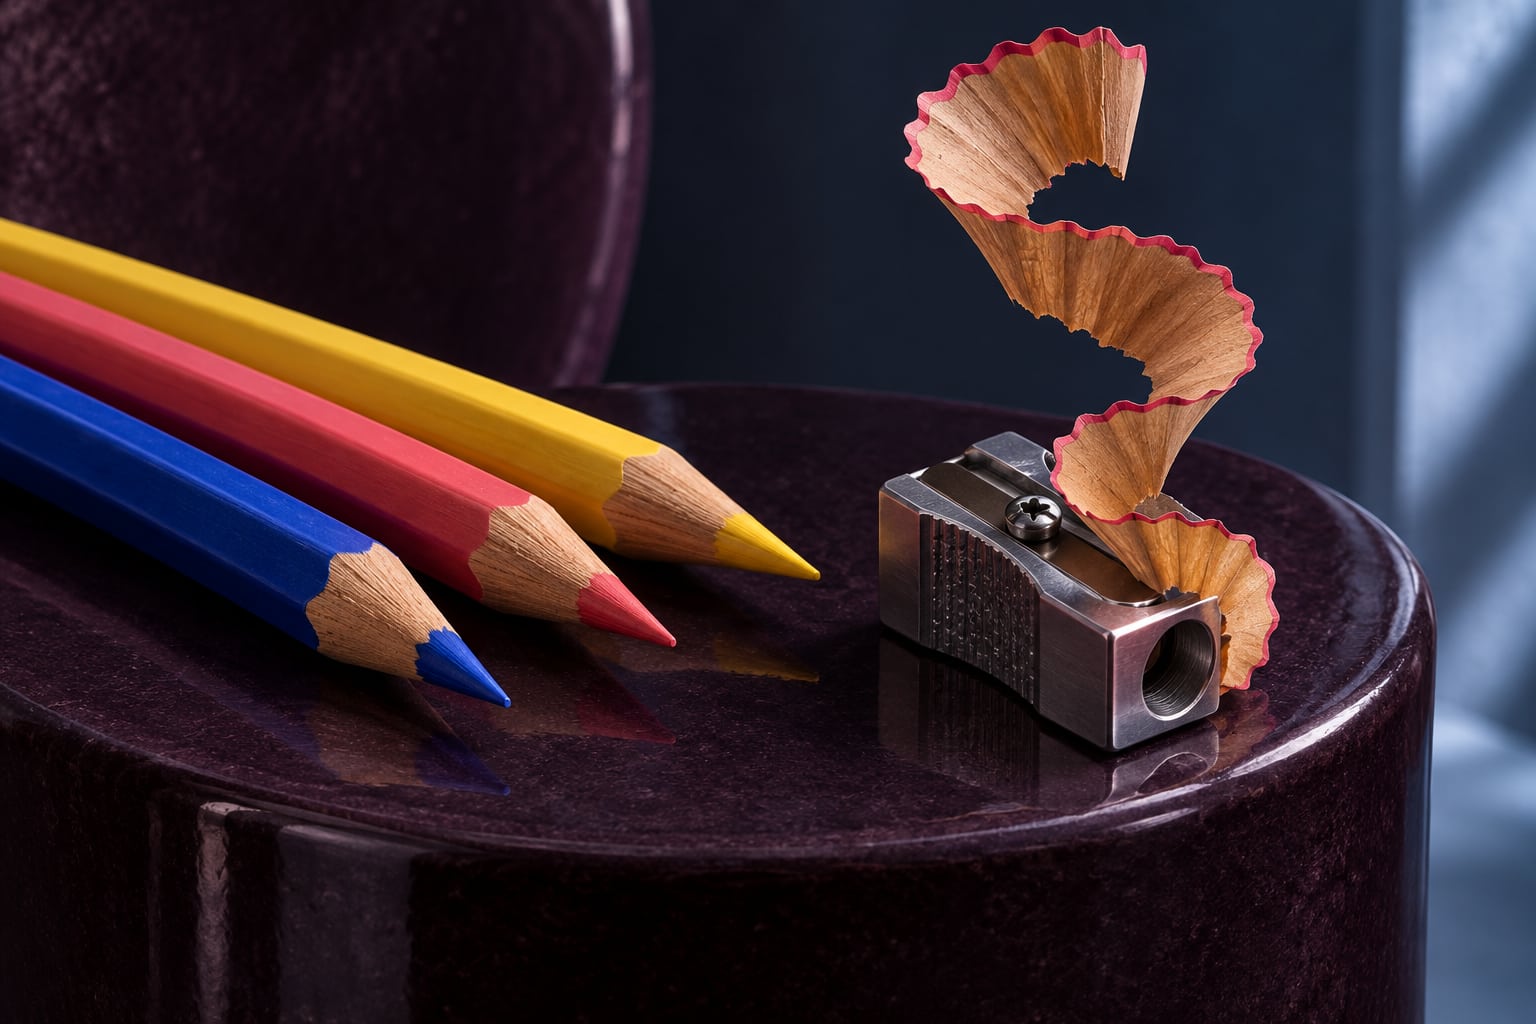
To reduce breakage when sharpening, check that your sharpener fits the pencil, is clear of shavings, and cuts cleanly. Keep the pencil aligned and stop once you have the point you need. Coloring does not always call for a needle-sharp tip. The aim is to regain control, not to keep removing wood until every pencil looks identical.
If a core keeps snapping, it does not mean your entire set was a bad choice. Start by separating two questions: what happens inside the sharpener, and what happens when the point touches the paper? That small observation is more useful than repeatedly sharpening without changing anything.
Before you turn it again
Empty the container and inspect the opening with the sharpener stopped. Keep fingers away from the blade and do not force a blockage. Check the manufacturer's instructions and the supported pencil diameter. A pencil that needs to be forced into the hole needs a different setting or tool, not extra pressure.
Derwent advises keeping handheld sharpener blades in good condition to avoid damaging the wood casing and colored core. If yours tears the wood instead of cutting it cleanly, check whether a replacement is available. Resharpening the blade yourself is not part of this simple care routine.
A short test with one pencil
- Choose one: leave the rest alone while you investigate. Notice whether the same color always breaks or whether several pencils do.
- Sharpen gently: follow the motion specified for your sharpener and avoid angling the pencil inside the opening.
- Check early: remove it and examine the point before carrying on. A broader area does not always need a very fine tip.
- Try separate paper: draw a few lines and fill a small patch with light pressure. Notice whether the break happens while sharpening or afterward.
- Change one thing: if you already have another compatible sharpener in good condition, compare the results. You do not need to buy a drawerful of tools for this test.
Match the point to the job
Picture an illustration with tiny leaves and a wide sky. Sharpen the pencil you will use for the leaf veins; for the sky, try gentle strokes with a broader contact area. Adjusting to each section keeps sharpening from becoming a constant interruption. Our guide to building pencil layers without heavy pressure offers a useful next exercise.
Common mistakes to avoid
- Sharpening again and again after repeated breaks: stop and investigate a different part of the process.
- Assuming that a finer point automatically produces a better picture.
- Treating pastel pencils exactly like every colored pencil: their sharpening needs can differ.
- Trying heat, a microwave, or solvents to repair a core without specific manufacturer instructions.
A common question
Do I need an electric sharpener?
Not necessarily. Compatibility and condition matter most. If a handheld sharpener gives you the point you need without trouble, keep using it. If breakage continues with a suitable tool, ask the manufacturer for advice before using up more of the pencil.
Once your materials are ready, choose a page you feel like exploring. The Chroma Shu book collection offers different creative worlds; taking care of your pencils need not turn into another shopping list.
Technical source: Derwent's Artists Pencils tips by Malcolm Cudmore. The troubleshooting exercise and examples are editorial suggestions from Equipo Chroma Shu, not a guarantee against every break.



Be the first person to leave a little trace of color here.